LazyGit: The Terminal UI That Makes Git Actually Enjoyable
If you've ever dreaded interactive rebasing or fumbled through staging individual lines, LazyGit is the TUI that will change your entire Git workflow.
There are tools you install and forget about, and then there are tools that fundamentally change how you work. LazyGit falls squarely into the second category. If you spend any meaningful time in a terminal — and as PHP developers, most of us do — this is one of those rare tools that earns a permanent spot in your workflow from day one.
What Is LazyGit?
LazyGit is a terminal user interface (TUI) for Git, written in Go by Jesse Duffield. It wraps all those Git operations you know you should be doing — interactive rebasing, partial staging, cherry-picking, bisecting — into a keyboard-driven visual interface that runs right in your terminal. No browser, no Electron app, no GUI bloat. Just a fast, responsive panel layout that makes complex Git workflows feel intuitive.
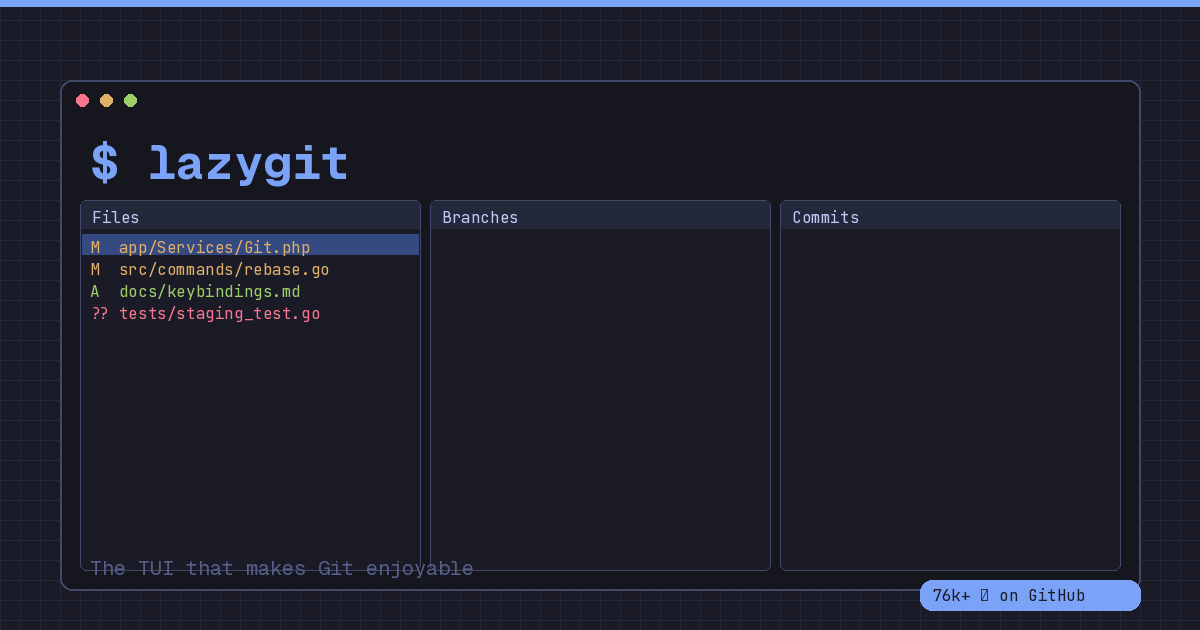
And the community agrees. With over 76,000 stars on GitHub, 2,700 forks, and more than 7,300 commits, LazyGit has quietly become one of the most beloved developer tools in the open source ecosystem.
Why LazyGit Clicks Instantly
The beauty of LazyGit is that it meets you where you already are. If you’re working in a terminal — whether that’s iTerm2, Alacritty, or a tmux session alongside NeoVim — LazyGit fits right in without disrupting your flow.
Here’s what makes it special:
Staging With Precision
We’ve all been there. You’ve made a bunch of changes across a file, but only some of them belong in this commit. With raw Git, you’re looking at git add -p and stepping through hunks one at a time, squinting at diffs in monochrome text.
In LazyGit, you press space to stage a line. Press v to select a range. Press a to stage an entire hunk. It’s visual, it’s immediate, and it respects that your time matters. You can see exactly what’s staged and what isn’t in real time, side by side.
Interactive Rebasing Without the Pain
If “interactive rebase” makes you tense up, you’re not alone. Editing a TODO file in your default editor, remembering which keyword does what, hoping you don’t accidentally drop a commit — it’s a workflow that feels fragile.
LazyGit turns it into a menu. Press i to start a rebase, then use simple single-key commands: s to squash, f to fixup, d to drop, and Ctrl+K/Ctrl+J to reorder commits. You see your commit history right there, and every action gives you immediate visual feedback. It’s the same Git operation under the hood, but without the anxiety.
Cherry-Picking and Bisecting Made Visual
Need to grab a commit from another branch? Shift+C to copy, navigate to your target branch, Shift+V to paste. That’s it. No remembering commit hashes, no copy-pasting SHAs from a log.
Bisecting is similarly streamlined. Press b and LazyGit walks you through the process visually, marking good and bad commits until it narrows down the culprit. For anyone who has tried to bisect manually and lost track of where they were, this alone is worth the install.
Full Undo Support
This might be the most underrated feature. Press z to undo your last action. Shift+Z to redo. LazyGit leverages the Git reflog to give you a safety net, so you can experiment confidently. Accidentally dropped a commit during a rebase? Undo it. Staged the wrong file? Undo it. It’s the Ctrl+Z your Git workflow always deserved.
A Perfect Companion for NeoVim Users
If you’re already in the NeoVim ecosystem, LazyGit integrates beautifully. The popular lazygit.nvim plugin lets you open LazyGit in a floating terminal window without leaving your editor. Edit code, pop open LazyGit, stage your changes, write your commit message, and you’re back to coding in seconds. It’s a workflow that feels almost unfairly efficient.
And because LazyGit is a standalone binary, you don’t need to worry about plugin dependencies or version conflicts. Install it once, and it works everywhere — your local machine, a remote server over SSH, a Docker container, anywhere you have a terminal.
Installing LazyGit
Getting started is straightforward regardless of your platform:
macOS (Homebrew):
brew install lazygitUbuntu/Debian:
sudo apt install lazygitArch Linux:
sudo pacman -S lazygitGo Install:
go install github.com/jesseduffield/lazygit@latestOnce installed, navigate to any Git repository and type lazygit. That’s it. You’ll be greeted by a panel-based interface showing your files, branches, commits, and stash — all navigable with arrow keys and single-letter commands.
The Keyboard-Driven Philosophy
What makes LazyGit feel so good is its commitment to keyboard-first interaction. Every action is a single keystroke or a simple key combination. There’s no menu diving, no mouse required. It rewards muscle memory, which means the more you use it, the faster you get.
The ? key brings up a context-sensitive help menu at any time, so you’re never stuck wondering what keys do what. Within a week of regular use, you’ll find yourself flying through Git operations that used to take multiple terminal commands and mental context switches.
Why You Should Try It Today
If you’re a PHP developer who works primarily in the terminal — especially if you’re part of the growing wave of NeoVim users — LazyGit is one of those tools that quietly removes friction from your day. It doesn’t try to replace Git or abstract it away. It just makes the interface humane.
The learning curve is gentle, the payoff is immediate, and at 76,000+ GitHub stars, the community behind it is active and welcoming. Issues get addressed, features get shipped, and the documentation is solid.
Give it fifteen minutes. Install it, open it in a project you’re actively working on, and try staging a few files, making a commit, and maybe an interactive rebase. I’m betting you won’t go back.
LazyGit is open source and available at github.com/jesseduffield/lazygit. Go give it a star while you’re there — Jesse and the contributors have earned it.